参考:
https://blog.csdn.net/zyhse/article/details/106381937/
https://blog.csdn.net/sksukai/article/details/107325930
https://blog.csdn.net/langshuibaren/article/details/119971279
linuxdeployqt-6-x86_64.AppImage(花我4块钱下载的) 分享地址
https://pan.baidu.com/s/1noRc7Gtj9rYEYhLHsV5s7Q 提取码:1vde
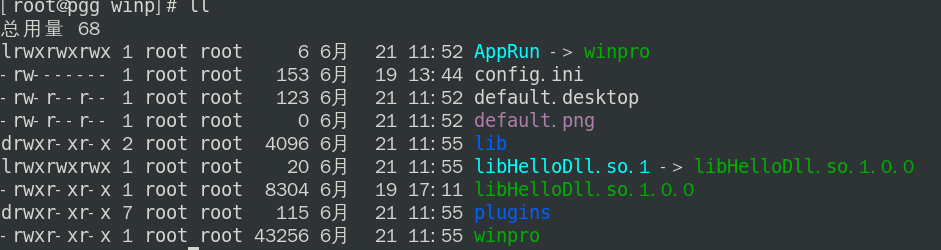
1、新建一个文件夹,将生成的release版本的程序和依赖动态库等文件复制至此文件夹下
mkdir winp
cd winp
2、在当前目录下执行 linuxdeployqt winpro -appimage,会自动引入依赖库
然后,打包压缩当前目录至 winp.tar.gz
3、在目录机器上解压winp.tar.gz,并进入winp目录。
cd winp
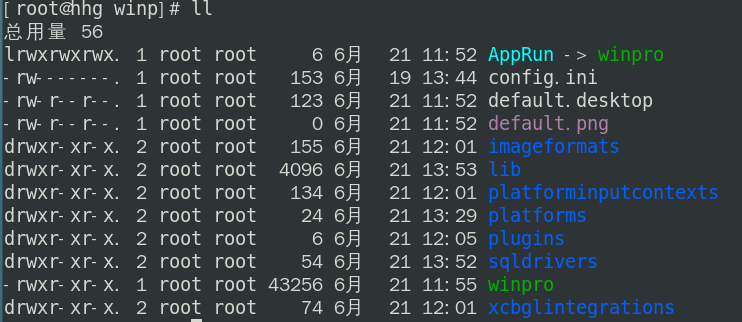
4、将动态库文件移至lib目录下,将plugins下的文件移至当前目录下
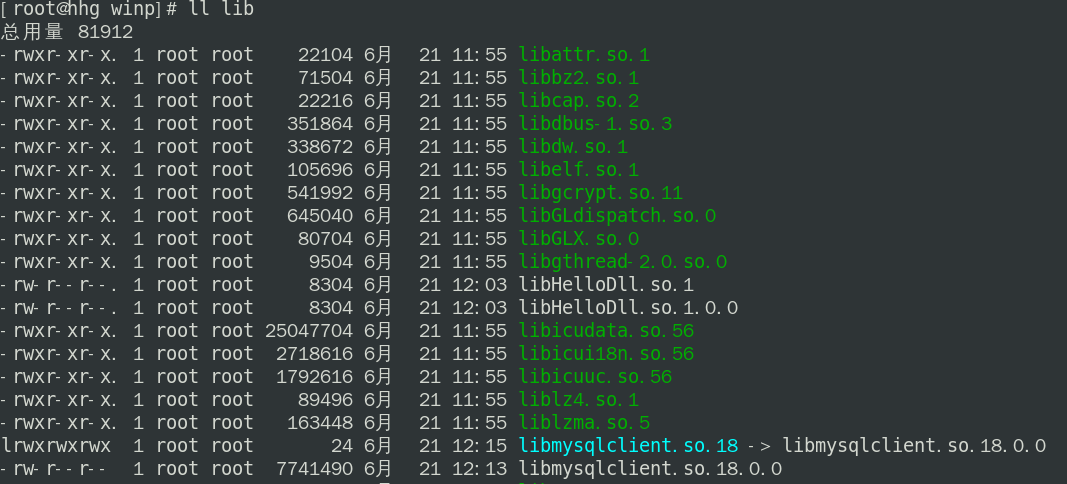
5、连接mysql时,将libqsqlmysql.so(需要release版本的)添加至sqldrivers下,将libmysqlclient.so.18.0.0添加至lib下,并建软链接 libmysqlclient.so.18
6、在~/.bash_profile下添加环境变量LD_LIBRARY_PATH
cat .bash_profile

# .bash_profile

# Get the aliases and functions
if [ -f ~/.bashrc ]; then
    . ~/.bashrc
fi

# User specific environment and startup programs

PATH=$PATH:$HOME/bin
#QT_QPA_PLATFORM_PLUGIN_PATH=/soft/winp/platforms
LD_LIBRARY_PATH=/soft/winp/lib:$LD_LIBRARY_PATH

export PATH
#export QT_QPA_PLATFORM_PLUGIN_PATH
export LD_LIBRARY_PATH
source ~/.bash_profile
应该就可以运行./winpro了。