一、安装包
123云盘内
二、安装步骤
不要添加环境变量,后续手动添加
三、环境变量配置

D:\Software\anaconda
D:\Software\anaconda\Scripts
D:\Software\anaconda\Library\bin
D:\Software\anaconda\Library\mingw-w64\bin
四、conda安装包,缓存位置设置
配置.condarc文件
五、pip安装包,缓存位置设置
pip.ini文件(C:\Users\WG\AppData\Roaming\pip\pip.ini)
[global]
index-url = https://mirrors.ustc.edu.cn/pypi/web/simple
cache-dir = D:/Software/anaconda/pip_cache
六、新建虚拟环境
一定要指定python版本,否则新建的环境不会创建独立文件夹,安装的包也会在主环境下
create -n name python=3.8
不指定python版本的话这个env文件夹下就没有bin文件夹 无法正常激活、使用,使用的还是base环境
七、为新建的虚拟环境添加jupyter内核
进入虚拟环境
1、安装ipykernel
pip install ipykernel
2、将虚拟环境加入内核中
python -m ipykernel install --name=web_env(注册名字)
进入主环境
3、列出jupyter notebook当前的内核
jupyter kernelspec list
八、更改anaconda默认启动环境
1、anaconda安装路径下的Scripts文件夹中(如:D:\Anaconda\Scripts),找到文件activate.bat,使用文本编辑器打开
更改成环境名称即可
九、jupyter主题以及代码补全
1、背景主题,字体大小设置
pip install jupyterthemes
更新jjupyter主题
pip install --update jupyterthemes
查看可用主题
jt -l
目前主题设置
jt -t monokai -f fira -fs 13 -cellw 90% -ofs 11 -dfs 11 -T -N
-f(字体) -fs(字体大小) -cellw(占屏比或宽度) -ofs(输出段的字号) -T(显示工具栏) -N(显示自己主机名)
详细配置说明可查看github:dunovank/jupyter-themes: Custom Jupyter Notebook Themes (github.com)
2、代码补全
首先安装nbextensions:
pip install jupyter_contrib_nbextensions -i https://mirrors.aliyun.com/pypi/simple
jupyter contrib nbextension install --user
然后安装nbextensions_configurator
pip install jupyter_nbextensions_configurator -i https://mirrors.aliyun.com/pypi/simple
jupyter nbextensions_configurator enable --user
如果提示缺少依赖,就使用pip安装对应依赖即可。
若上述安装失败可换用conda安装:
conda install -c conda-forge jupyter_nbextensions_configurator
conda install -c conda-forge jupyter_contrib_nbextensions
jupyter contrib nbextension install --user
jupyter nbextensions_configurator enable --user
十、jupyter notebook代码显示不全,无法选中最后的括号
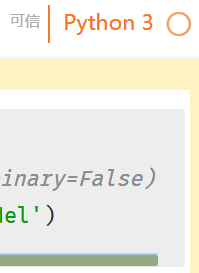
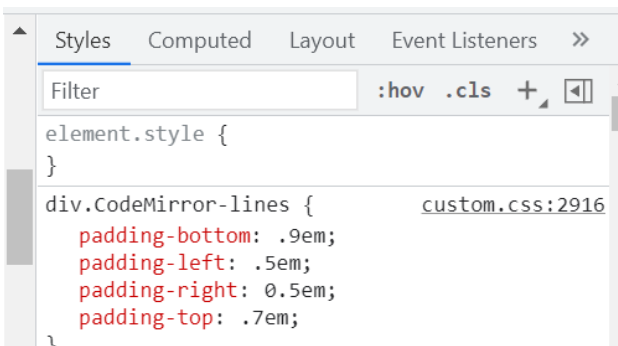
在jupyter写代码时,代码输入框的末尾有一位字符显示不全,滚动条也拖不到,只好慢慢探索修改CSS文件。
代码里False后面还有个括号显示不出来,滚动条怎么拖也拖不到那,最后的字符显示不出来。
解决办法:
先打开谷歌浏览器的页面元素检查窗口,利用定位功能找到CodeMirror-lines行:

在右边窗口的CSS文件处,按照自己的浏览器显示效果调整padding-left项,改为0em或者调小都可以,确定后到电脑 \.jupyter\custom\custom.css文件直接修改。
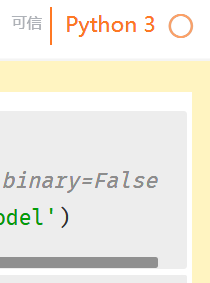
成功修改过后: